How to Use A Self-Cleaning Oven: A Complete Guide To Clean
Have you ever dreaded the task of scrubbing and scraping the inside of your oven? With days or months of buildup, it's a task that many seem to put off until they really need to. Thanks to the innovative technology of self-cleaning ovens, this chore is now a thing of the past. In this guide, we will explore the concept of a self-cleaning oven and how it has revolutionized oven cleaning for the everyday homeowner.
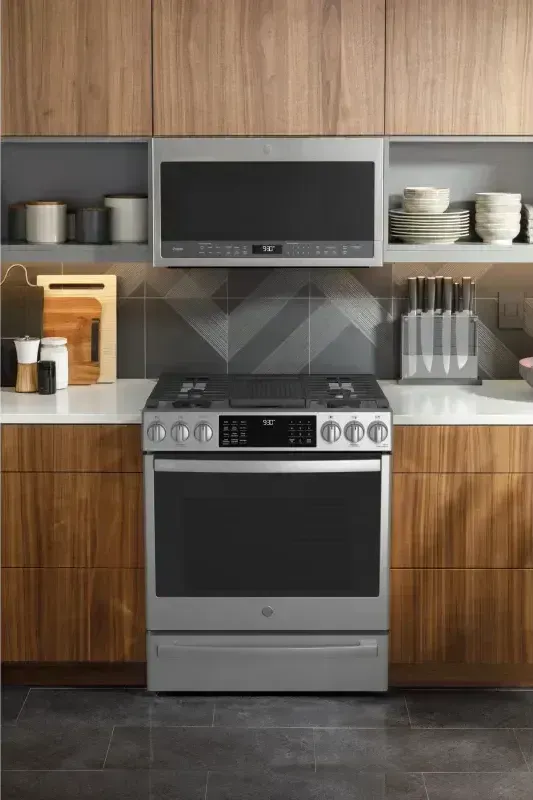
Self-cleaning ovens are designed to not only make your life easier and your kitchen more efficient. With just the touch of a button, these ovens use high temperatures to turn food residues and spills into ash, which you can easily wipe away. This hassle-free method doesn't just save you time, it also ensures a cleaner, more hygienic cooking environment. Whether you're a busy parent, a working professional, or simply someone who values convenience, understanding how to use a self-cleaning oven can significantly simplify your kitchen routine.
In the following sections, we'll delve into the best ways to utilize this remarkable feature, ensuring your oven remains in pristine condition with minimal effort. Get ready to say goodbye to those hours spent on your knees, armed with a scouring pad, as we embark on a journey to a cleaner, brighter kitchen with the help of a self-cleaning oven.
What is a Self-Cleaning Oven?
Understanding the Self-Cleaning Phenomenon
A self-cleaning oven is a marvel of modern kitchen technology, built to ease the burden of oven cleaning. Fundamentally, a self-cleaning oven is equipped with a feature that allows it to clean itself. But how does this work? These ovens utilize extreme heat – much higher than that used for cooking – to incinerate food particles and spills that have accumulated on the inside of the oven. The end result is a fine ash that can be effortlessly wiped away once the oven cools down, leaving the interior sparkling clean without the need for chemical cleaners or intense scrubbing.
A Quick Look at History
The journey of self-cleaning ovens began in the mid-20th century, with the first model introduced to the market by General Electric in 1963. This innovation was a significant leap forward in home appliance technology, offering homeowners a convenient solution to one of the most dreaded household tasks. Over the years, these ovens have undergone numerous advancements, evolving in both efficiency and safety.
Exploring the Types of Self-Cleaning Ovens
High Heat or Pyrolytic Cleaning Ovens
This is the most common type of self-cleaning oven. When set to the self-clean mode, the oven locks itself and heats up to temperatures usually around 900 degrees Fahrenheit (about 500 degrees Celsius). This intense heat reduces all food residues to ash. After the cycle, which can last a few hours, the oven unlocks, allowing you to wipe away the ash easily.
Steam Cleaning Oven
A newer, eco-friendlier option, steam cleaning ovens use lower temperatures and steam to soften residues in the oven. While not as thorough as the high-heat method, steam cleaning is quick, usually taking less than an hour, and is ideal for light cleaning tasks.
By offering these two types of self-cleaning options, oven manufacturers cater to diverse needs and preferences of homeowners, making the chore of oven cleaning more manageable than ever.
Preparing Your Oven for the Self-Cleaning Process
Before you engage the self-cleaning function of your oven, it's crucial to prepare it properly to ensure the process is both effective and safe. Here are key steps to follow:
Removing Racks and Other Items
Clear the Oven
Begin by removing the oven racks, as well as any other items inside the oven, like thermometers or baking stones. High heat can warp or discolor metal racks and damage other items.
Rack Cleaning
Clean the racks separately by hand. Soaking them in soapy water and gently scrubbing can remove built-up grime.
Wiping Down and Pre-Cleaning
Manual Wipe-Down
While the self-cleaning cycle is excellent at incinerating food particles, it's a good practice to manually wipe down the inside of the oven first. Use a damp cloth to remove larger food particles and excess grease. This step helps prevent smoke and odors during the cleaning cycle.
Avoid Harsh Chemicals
It's important not to use chemical oven cleaners or scouring pads. These can interfere with the self-cleaning process and damage the oven's interior.
Safety Precautions
Ventilation is Key
Ensure your kitchen is well-ventilated during the cleaning cycle. Turn on the range hood fan and open windows if possible. The process can produce smoke and fumes, especially if there's a lot of residue in the oven.
Keep Children and Pets Away
The extreme temperatures generated during the cleaning process can make the oven exterior quite hot. Keep children and pets away from the kitchen during this time to prevent accidents.
Stay Home and Monitor
While it's safe to do other things around the house, it's advisable to stay home and periodically check on the oven during the self-cleaning process.
By following these simple yet essential steps, you can ensure that your oven's self-cleaning cycle is both effective and safe, leading to a hassle-free and efficient oven cleaning experience.
Step-by-Step Guide to Using the Self-Clean Feature
Embarking on the self-cleaning journey with your oven is straightforward. Here's a detailed guide to help you navigate the process, ensuring an efficient and effective cleaning cycle.
Initiating the Self-Cleaning Cycle
Read the Manual
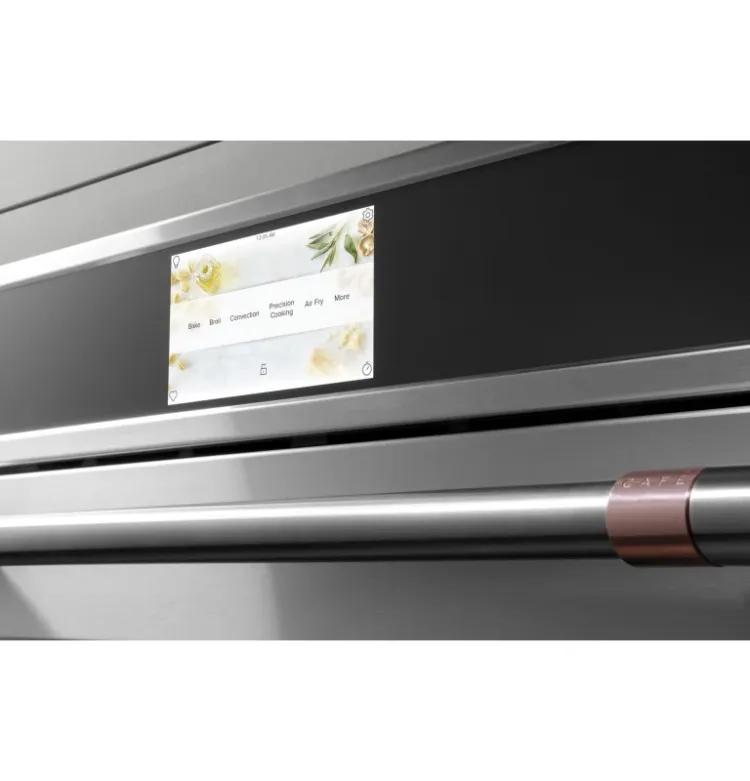
First, consult your oven's manual. Different models may have specific instructions or recommendations.
Lock the Door
Most self-cleaning ovens will automatically lock the door once the cycle starts. If yours doesn’t, you’ll need to lock it manually.
Set the Cycle
Select the self-cleaning option on your oven’s control panel. Some ovens offer choices for the length of the cycle, typically ranging from 2 to 4 hours, depending on the amount of cleaning needed.
Start the Cycle
Once you start the cycle, the oven will heat up to its cleaning temperature. The door will remain locked for safety.
Duration and Expectations
Typical Duration
The cycle can last from 1.5 to 4 hours. Longer cycles are usually for ovens with more significant build-up.
During the Cycle
Expect the oven to emit some heat and odor, especially if there’s a lot of residue. This is normal, but ensure your kitchen is well-ventilated.
After the Cycle
Once completed, the oven needs time to cool down. This can take an additional hour or more. The door will unlock once it's safe to open.
Handling Different Types of Self-Cleaning Ovens
High Heat (Pyrolytic) Ovens
These will reach extremely high temperatures. Expect a longer cycle and more ash residue, which should be wiped away after the oven cools down.
Steam Cleaning Ovens:
These require adding water to a tray at the bottom of the oven. The cycle is shorter, and while it’s less intensive, it’s perfect for regular maintenance and light cleaning.
By understanding these steps and what to expect, you can confidently use the self-clean feature of your oven, ensuring a hygienic and efficient cooking environment with minimal effort.
After the Self-Cleaning Cycle: Post-Cleaning Steps
Once the self-cleaning cycle of your oven is complete, there are a few important steps to follow to ensure everything is back in order and ready for your next culinary adventure.
Safely Opening the Oven and Cooling Down
Wait for the Lock to Disengage
After the cycle, the oven will need time to cool down. Most ovens automatically lock during this period for safety. Wait until the oven unlocks itself, indicating it's safe to open.
Gradual Cooling
Avoid the urge to speed up the cooling process. Opening the oven door too soon or trying to cool it artificially can damage the oven’s components.
Wiping Away Ash Residue
Use a Damp Cloth
After the oven has cooled and unlocked, use a damp cloth or sponge to gently wipe away the fine ash residue from the bottom, sides, and door of the oven. This ash is the result of the high-heat cleaning process and is usually quite minimal, especially in steam cleaning ovens.
Avoid Harsh Chemicals
It's important not to use harsh chemical cleaners. The ash residue is non-toxic and comes off easily with just water.
Inspection and Re-Insertion of Racks and Other Items
Check the Interior
Once the ash is wiped out, inspect the oven’s interior for any remaining residue or spots that might have been missed during the cleaning cycle.
Re-insert Racks
Clean and dry the oven racks that you had removed before the cycle. Once dry, re-insert them into the oven.
Other Items
If you had removed any other items like thermometers or baking stones, ensure they are clean before placing them back in the oven.
By following these post-cleaning steps, you ensure that your oven is not only clean but also in perfect working condition, ready for whatever baking or roasting tasks you have planned next.
Manual Cleaning Alternatives to Self-Cleaning
While the self-cleaning feature on modern ovens is a convenient and time-saving option, there are occasions when manual cleaning might be a better choice. Understanding when and how to clean your oven manually can help you maintain it effectively, especially in situations where self-cleaning may not be ideal.
When to Consider Manual Cleaning
Light Spills and Splatters: For minor spills or splatters, a full self-cleaning cycle might be overkill. A quick manual wipe-down can be more efficient.
Frequent Cleaning: If you use your oven very frequently, you might find it more practical to manually clean small messes as they occur rather than waiting for them to accumulate.
Energy Consideration: Self-cleaning uses a lot of energy. For smaller cleaning tasks, manual cleaning can be more energy-efficient.
DIY Cleaning Methods
Baking Soda and Water
Create a paste of baking soda and water, apply it to the interior surfaces of the oven, avoiding the heating elements. Let it sit overnight, then wipe it off with a damp cloth and spray a little vinegar to remove any baking soda residue.
Vinegar and Water
A solution of equal parts water and vinegar can be effective for cleaning the oven windows and light grease spots. Spray the solution, let it sit for a while, and then wipe it clean.
Pros and Cons of Manual Cleaning vs. Self-Cleaning
Pros of Manual Cleaning:
- Control: You can target specific areas and control the amount of cleaning needed.
- Chemical-Free: Using natural products like baking soda and vinegar avoids the chemicals found in commercial cleaners.
- Energy Efficiency: Manual cleaning requires less energy compared to the high temperatures needed for self-cleaning.
Cons of Manual Cleaning:
- Time and Effort: It requires more physical effort and time, especially for tough grime.
- Less Effective for Stubborn Residue: Baked-on residue can be challenging to remove without the high heat of a self-cleaning cycle.
Pros of Self-Cleaning:
- Convenience: It's largely hands-off and requires minimal physical effort.
- Effectiveness: High heat is excellent for removing tough, baked-on residue.
Cons of Self-Cleaning
- Energy Usage: Consumes more energy due to high temperatures.
- Potential for Smoke and Odor: Can produce smoke or odor, especially if there's a lot of residue.
While self-cleaning ovens offer a high degree of convenience and effectiveness, manual cleaning methods remain a valuable alternative for lighter, more frequent cleaning tasks, or when energy conservation is a priority.
Maintenance Tips for Your Self-Cleaning Oven
Keeping your self-cleaning oven in top condition requires some regular maintenance. By following these tips, you can ensure that your oven functions optimally and lasts for many years.
Routine Maintenance Tips
Regular Wipe-Downs
After each use, once the oven cools down, wipe the interior with a damp cloth to remove any spills or splatters. This prevents build-up and makes the self-cleaning process more effective.
Check and Clean the Door Seal
Regularly check the oven door seal for food particles or damage. A good seal is essential for the oven's efficiency and safety.
Avoid Excessive Spillovers
While self-cleaning ovens are great at handling residue, it's best to prevent excessive spills. Use baking sheets or foil to catch drips, especially when cooking messy foods.
How Often to Use the Self-Clean Feature
Frequency of Use
The frequency of the self-cleaning cycle depends on how often you use your oven and what you cook. Generally, running the self-clean cycle every 2 to 6 months is recommended.
Observing Changes
If you notice smoke or smells during regular oven use, it might be time for a self-clean cycle.
Common Issues and Troubleshooting Tips
1. Oven Not Locking or Unlocking
If your oven doesn't lock or unlock properly, check for obstructions in the door and ensure the lock mechanism is clean and unobstructed.
2. Ineffective Cleaning
If the self-clean cycle doesn't seem to be cleaning effectively, ensure you're removing larger debris before the cycle and that the oven isn't overloaded with residue.
3. Strange Noises or Smells
Some noise and odor during the self-clean cycle can be normal, but if it's excessive, stop the cycle and consult the manual or a professional.
By following these maintenance tips, you can make the most of your self-cleaning oven, enjoying the benefits of a clean, efficient appliance. Regular care not only extends the life of your oven but also ensures a safe and pleasant cooking experience.
H2: Embracing the Ease of Self-Cleaning Ovens
Self-cleaning ovens represent a significant advancement in kitchen convenience and efficiency. By understanding how to use and maintain these appliances properly, homeowners can enjoy the benefits of a clean and hygienic cooking environment with minimal effort. Whether you choose the high heat method or the eco-friendly steam cleaning option, the self-cleaning feature is an excellent tool for keeping your oven in pristine condition. Remember, regular maintenance and timely cleaning cycles are key to ensuring the longevity and optimal performance of your self-cleaning oven. Embrace this modern technology and make the task of oven cleaning a hassle-free experience in your home.